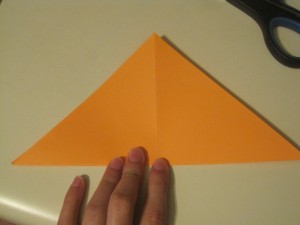
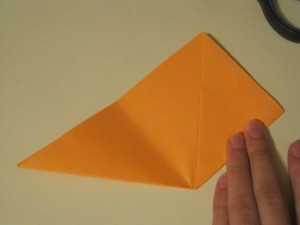
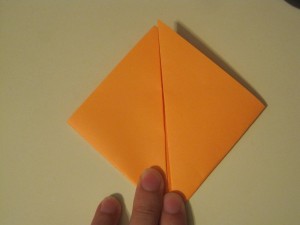
I cannot imagine planning a wedding without my friends by my side, so almost the first thing I determined after me and Andrew got engaged was who I wanted to stand beside me on our wedding day. Andrew and I talked and agreed that 4 people on each side would be a good amount – not too much, not too little.
I also knew that I didn’t just want to send them a text and say, “hey wanna be my bridesmaid?!” I wanted to make it special. I got a few inspiring ideas from Pinterest and decided I would try and take my own little spin on it.
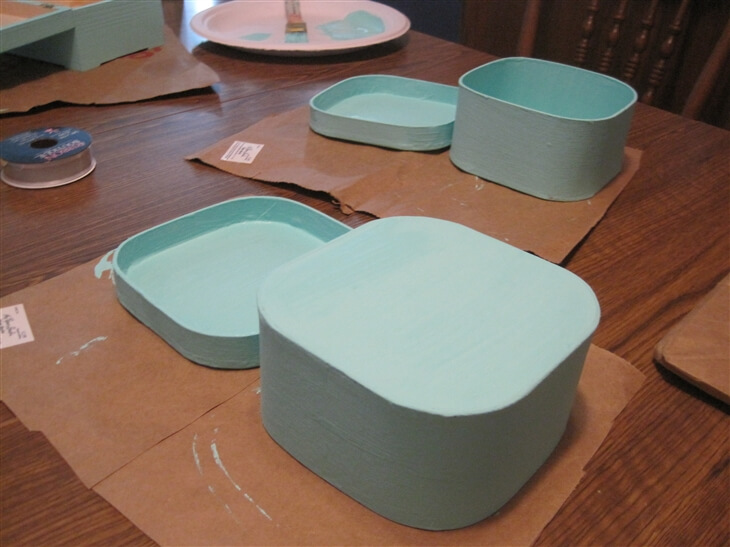
I went to Hobby Lobby (a craft store) and looked for some little boxes that I could work with. I found three cardboard boxes that were a perfect size, but I needed four. I found some wooden boxes that were a good size, but there were only two. I thought, well, I’ll make my maid of honor box a little special, since she is my maid of honor. So I bought three cardboard boxes and one wooden one.
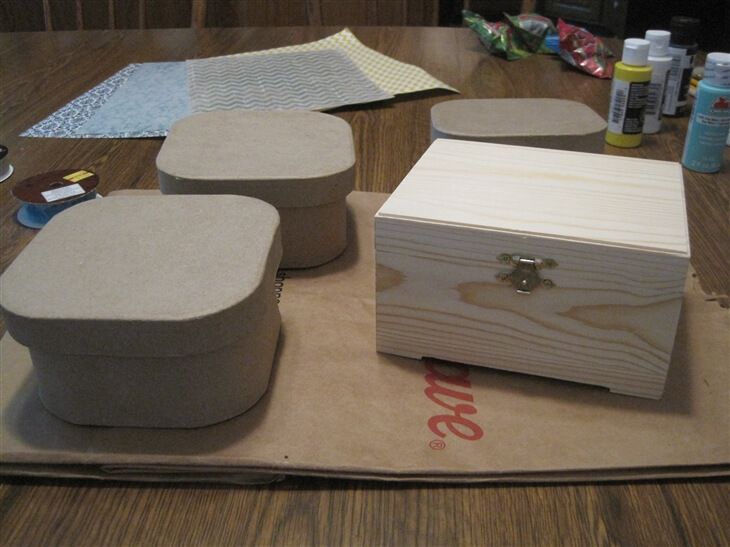
I found some paint that was as close to my wedding colors as I wanted (we decided on a mint blue with yellow!) and I put a coat of the acrylic paint on all of the boxes. The wooden box would probably have looked a little better with two, but I had just enough paint with one bottle to do them all with one coat, and I didn’t think it was necessary to buy more. Plus I didn’t think anyone would notice. 
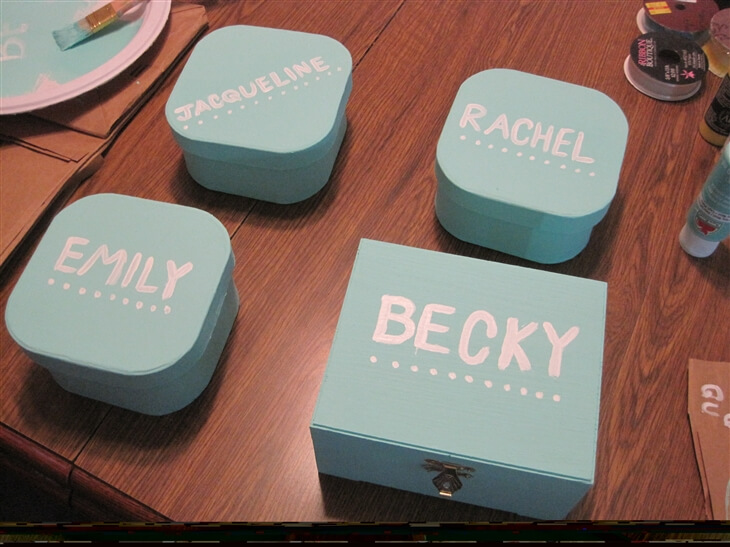
I wanted to make them feel customized and personal, so I bought some white paint, too, and painted their names on the lids of all the boxes. I am no artist, by any means, so I practiced on a paper plate to get it to what I deemed “decent.” One of my friend’s has such a long name: Jacqueline. I messed up on that one and just painted it over again with mint blue and tried again. On another one, the name was a little off-center so I painted it over again with the original blue and tried again. I think they turned out really good for my unsteady hand!
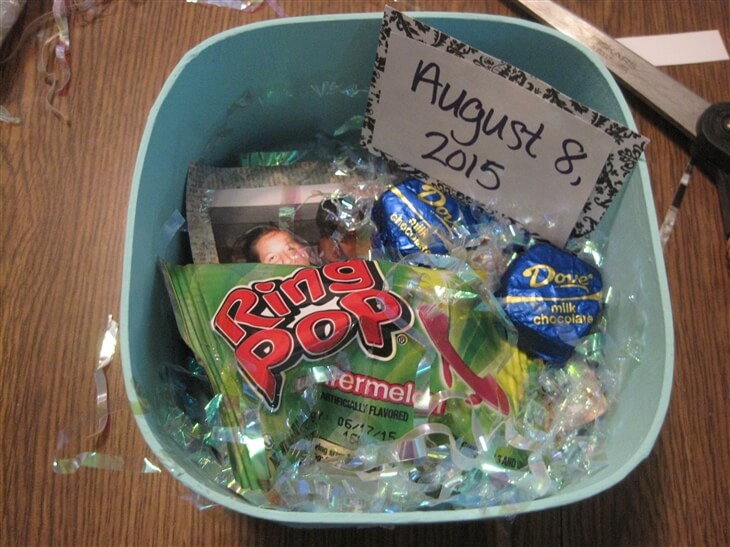
I wanted to fill the boxes with all kinds of goodies while still asking them to be my bridesmaids. I started with ring pops – which are both sweet to eat and cute because of me being engaged. I then had some pictures printed that I mounted on cute card stock. I bought mini chocolates to fill them with, as long as each of my bridesmaid’s favorite candy. I had bought the candy before I bought the boxes though, and most of the candy was actually too big for the boxes (whoops!) so I just gave them to my friends afterwards and they still thought that was sweet.
I wanted the boxes to have a bit of glitter and a white wedding feel, but I hate how glitter gets everywhere and on everything. I found some white gift shred that I then placed in the boxes. It definitely made them feel a little more girly. 
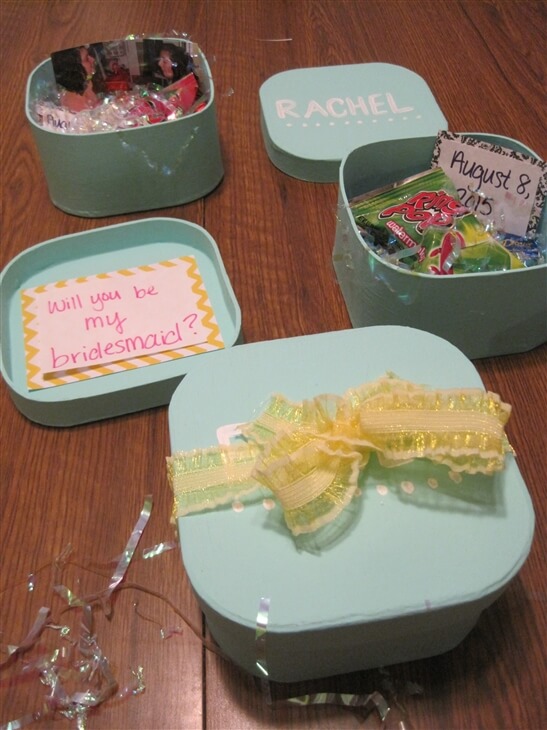
To actually ask them if they would be my bridesmaid, I just took white paper and wrote in pink, “will you be my bridesmaid?” and for Becky’s, “will you be my Maid of Honor?” I mounted that on some yellow cardstock (which tied in with my wedding colors again) and glued them on the lid, so that when they opened the boxes, that would be what they saw.
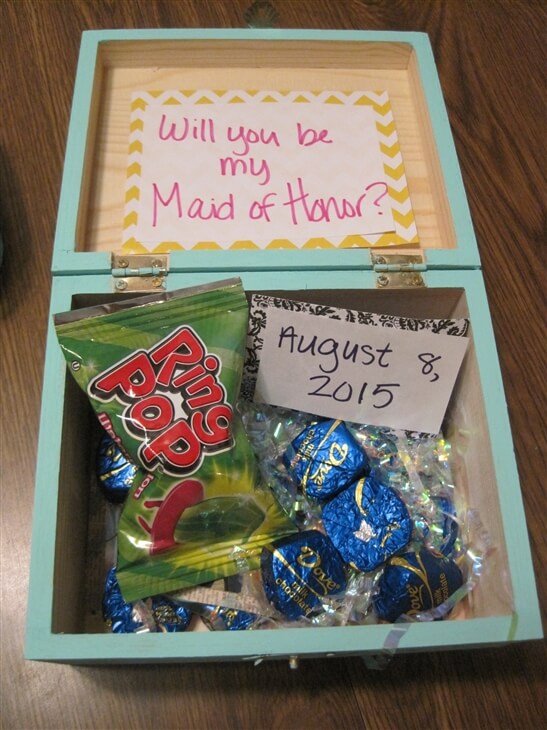
I wanted them to know when this whole shindig was going down as well, so I wrote our date that we picked – August 8th, 2015!!! – and mounted it on cardstock and placed it inside the box.
And, of course, when everything was inside and all together, I had to wrap it in adorable yellow ribbon!
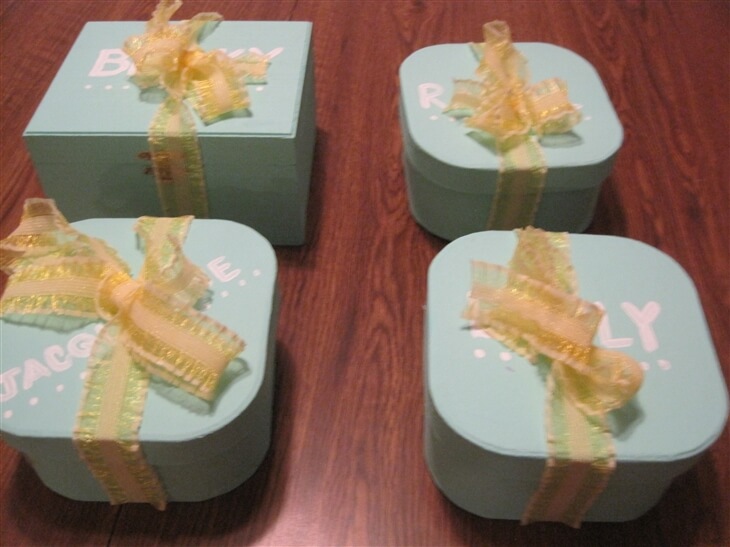
I am soooo pleased with how they turned out. I thought that they would be cute, but I absolutely love them. I would have loved if someone had done that for me and I think all my girls loved that I did it for them. Becky actually started to tear up a little bit when I asked her and everyone else thought they were so cute! I hope that it’s something (the box at least) that they will want to keep for a while. 
Overall, the project was pretty cheap. Price breakdowns and where I got what:
Cardboard/wooden boxes (found at Hobby Lobby): $3 each x 4 = $12
White and Mint blue acrylic paint (found at Walmart): $0.50 x 2 = $1
Gift Shred (Hobby Lobby): $2
Pictures (printed at Walgreens): $1.25
Cardstock (Hobby Lobby): $0.50 x 3 = $1.50
Chocolates (Target): $4 x 2 = $8
Ring Pops (Walmart): $0.50 x 4 = $2
Yellow Ribbon (Hobby Lobby): $3
Grand total: $30.75
Not too bad – only came out to about $8 for a box. If you have a lot of the supplies already, it brings the price down a bit. Overall really happy with how they all turned out and I am so excited for the rest of wedding planning! 
