In this tutorial you’re going to learn how to make a corner bookmark! They’re very simple (don’t let the number of steps deceive you!) and you will only need a few materials, nothing that you need to go out and buy unless you want to go above and beyond with your decorating. 
- The first thing you are going to need is a square piece of paper. It doesn’t really matter what size it is, but the bigger it is, the easier it is to work with since there will be a lot of folding. For the purposes of this tutorial, I will be using a 6 inch x 6 inch piece of paper.
- Fold your paper in half, so it looks like a triangle.
- Unfold it, and now fold it in half the other way in the form of a triangle.
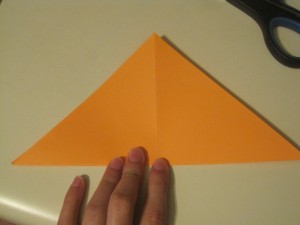
- Fold the right side of your triangle in towards the center.
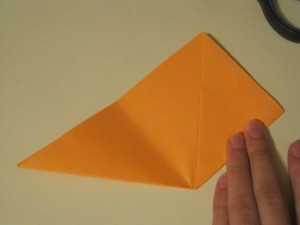
- You are going to do the same with the left side, so both sides are folded in.
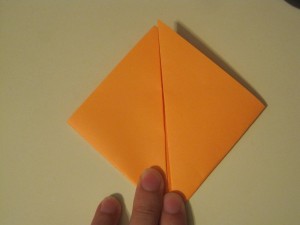
- This next part can be a bit confusing. Unfold your piece of paper completely. Be careful not to turn it while you are unfolding, otherwise you will fold the wrong part and your bookmark may not turn out right. Your paper should look like this:
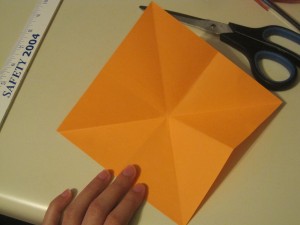
- You are going to fold the bottom point of your triangle up into the center. You are going to do the same with the top point as well.
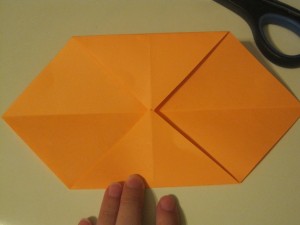
- Fold your paper in half, downwards. And then you’ll need to flip it over. You are going to have crease marks where you are going to fold next.
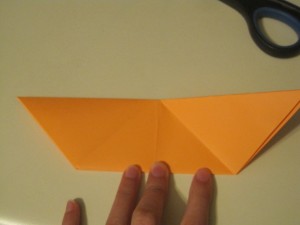
- Fold the right flap down; it should fold easily since it is already creased. Now do the same with the left side, so they are both folded down.
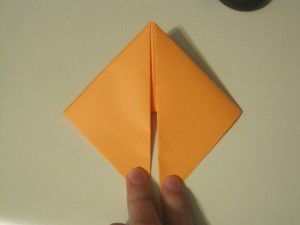
- Almost finished! You are just going to simply fold the flaps down into the triangle!
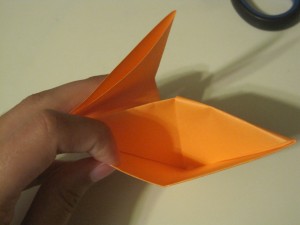
- And voila! You are done! Well, with making the bookmark at least.
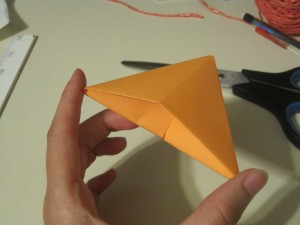
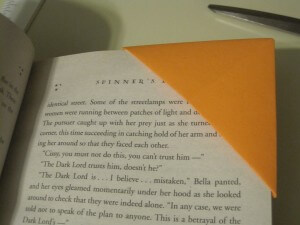
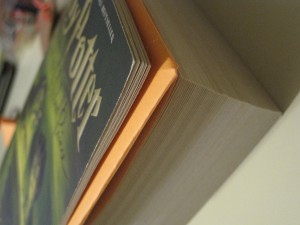
You can now be done with your new handy-dandy bookmark, or you can go on and decorate it! You can simply use markers and draw designs on it, or you can get a bit more creative. And remember, you can make all different sizes–the bigger the piece of paper you use, the easier it is to fold.
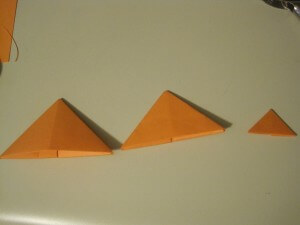
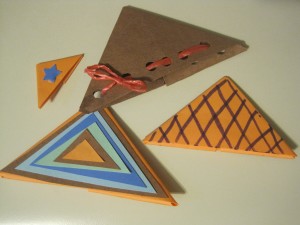
I hope you enjoy your bookmark! If you have any questions or got a little confused on a certain step, feel free to comment in the area below and I will get back to you!
Oh my gosh, this is really cute!! I’m bookmarking this!! >.<
This is such a great invention. I always lose my bookmarks.
OMG this is one of the coolest/most practical bookmark ideas I’ve seen.
Oh wow, that it so awesome. I’m going to have to bookmark this page for next time I’m reading a book.
It’s really cute!!
Thank you for this great tutorial, I think I’ll be making a few of these as I’m always losing my bookmarks. :-) xx
You’re welcome! I’m glad I could help!
nice, love it
This is such an easy way to make a bookmark… and it makes so much sense! Fantastic idea!
This is so cute! Will be trying this out! :3
Thanks, I am going to use this for my school’s fund rasing project. I’ll sell this!
Omg! Thankyou!!! This is what ive been looking for!_
beautiful!! I like it very much,very interesting method of making Book mark.
I’m actually going to try to use this for my textbooks… Love this!
Aww, such a cute idea!! This would be very useful for me.
thnks this is cute and useful.
i need this for my book week.
yes i just cut off the tip! br i made it like a normal corner bookmark, then to make it look like snorlax s head i rounded off the tip using scissors!
I made these for the people in the no name, no rules book club. Once I had done a couple of the book marks I got fast and it did not take any time at all. Making for my grandsons tomorrow.